How to Rotate and Straighten a Crooked Photo in Seconds
July 19, 2025
It’s a simple mistake that happens to everyone. You’re capturing a beautiful sunset, a family portrait, or an architectural shot, but in the moment, you hold your camera or phone just slightly off-kilter. When you look at the photo later, the problem is glaring: a tilted horizon, a leaning building, or a subject that seems to be sliding off the page. A crooked photo can look unprofessional and feel unsettling to the viewer, distracting them from the subject matter.
Fortunately, this is one of the easiest and quickest problems to fix in photo editing. Straightening a crooked photo is a fundamental skill that can instantly improve the quality and professionalism of your images. This guide will walk you through the simple methods to rotate and straighten your photos, ensuring they always look balanced and polished.
Why a Straight Photo Matters
Our brains are naturally wired to seek balance and order. We expect horizontal lines (like horizons) to be horizontal and vertical lines (like buildings) to be vertical. When these lines are tilted in a photograph, it creates a sense of unease or tension. While a deliberate tilt (often called a "Dutch angle") can be used for artistic effect to create a feeling of drama or disorientation, an unintentional slant just looks like a mistake.
Straightening your photos provides:
- A Sense of Balance and Stability: A level horizon gives a photo a solid foundation and makes it feel more grounded and pleasing to the eye.
- Professionalism: Taking the time to straighten an image is a small detail that signals a higher level of care and quality. It shows that you are intentional about your presentation.
- Improved Composition: Correcting the orientation of your photo is the first step before you begin to crop or make other compositional adjustments.
The Tools of the Trade: How to Straighten a Photo
Nearly every photo editor, from advanced desktop software to simple online tools like Picu, has intuitive features for rotation and straightening.
Method 1: Simple 90-Degree Rotations
This is the most basic form of rotation, used when your photo is completely on its side or upside down. This often happens when you transfer photos from a phone to a computer and the orientation metadata is read incorrectly.
- How it works: Look for icons showing an arrow rotating a square. There will typically be a "Rotate Left" and a "Rotate Right" button.
- When to use it: When your photo is sideways. One or two clicks will instantly flip it to the correct orientation (e.g., from landscape to portrait).
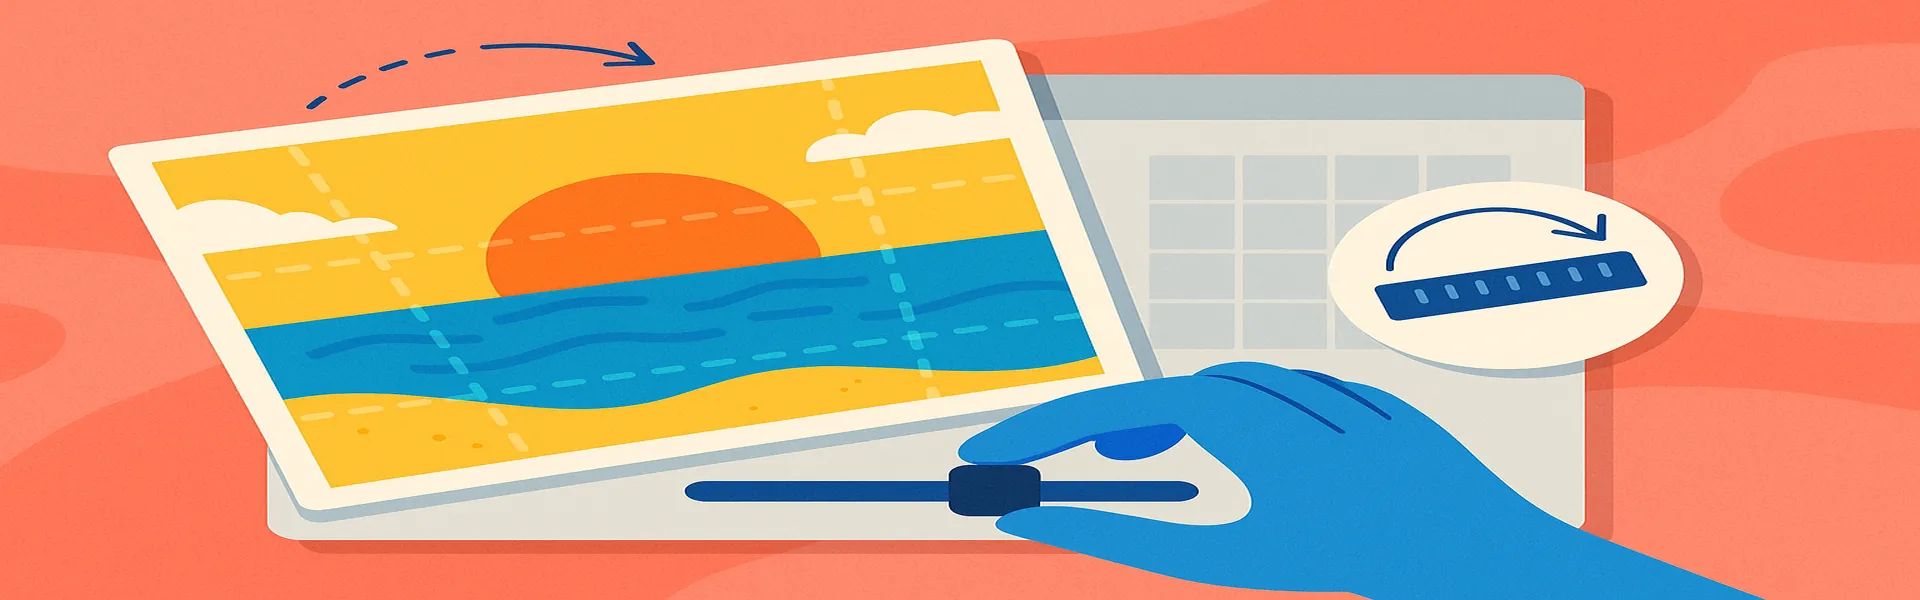
Method 2: Fine-Tuning with a Straighten Slider
This is the tool you'll use for correcting those slight, unintentional tilts. It allows for precise, degree-by-degree adjustments.
- Upload Your Image: Open your crooked photo in an editor.
- Find the Straighten Tool: This is often represented by an icon showing a grid with a curved arrow or is found alongside the cropping tools.
- Use the Slider: A slider will appear, usually with a range from -45 to +45 degrees. As you move the slider, a grid overlay will appear on your image. Drag the slider left or right and watch the grid lines. The goal is to align a horizontal line in the grid with the horizon in your photo, or a vertical line in the grid with a building or other upright object.
- Automatic Cropping: As you rotate the image, the corners will be cut off, leaving empty space. Most modern editors will automatically calculate the largest possible crop to eliminate these empty corners, giving you a perfectly rectangular, straightened image.
- Confirm and Save: Once the lines are parallel, apply the change. Your photo is now perfectly balanced.
Method 3: The "Draw a Line" Tool (The Fastest Method)
Many modern tools offer an even faster, more intuitive way to straighten.
- How it works: You select the "straighten" or "ruler" tool. Then, you find a line in your photo that is *supposed* to be perfectly horizontal or vertical (like the sea horizon, the edge of a building, or a window frame). You simply click and drag your mouse along that crooked line in your photo.
- The Magic: When you release the mouse button, the software automatically calculates the exact angle of the line you drew and rotates the entire image to make that line perfectly level. It’s an incredibly fast and accurate way to guarantee a perfect result with minimal effort.
Tips for Perfect Straightening
- Identify a Strong Line: Your first step should always be to identify the most important horizontal or vertical line in your scene. Don't get distracted by less important elements. In a beach scene, the horizon is all that matters.
- Trust the Grid, Not Just Your Eyes: The grid overlay is your best friend. It provides an objective reference that is more reliable than just eyeballing it.
- Don't Be Afraid to Lose a Little: Remember that straightening will always involve a small amount of cropping. It's a worthwhile trade-off to achieve a balanced composition. Shoot slightly wider than you need to in-camera to give yourself some wiggle room for these kinds of corrections.
Conclusion
Straightening a crooked photo is a quick fix that delivers a huge improvement in quality. It’s a fundamental editing skill that transforms a casual snapshot into a polished, professional-looking image. Whether you use a simple slider or a smart ruler tool, taking a few seconds to correct the orientation demonstrates a commitment to quality and results in a more satisfying and visually stable photo for your audience.
Have a crooked photo that needs fixing? Try our free rotation and straightening tool now!