How to Edit Food Photography to Look Absolutely Delicious
July 25, 2025
In the age of Instagram and food blogs, food photography has become an art form. We don’t just eat with our mouths; we eat with our eyes first. A great food photograph can make a simple dish look like a gourmet masterpiece, enticing viewers and making their stomachs rumble. The secret to irresistible food photography isn’t just in the cooking or the plating; it’s in the edit. The right editing techniques can transform a flat, unappetizing snapshot into a vibrant, textured, and utterly delicious-looking image.
Editing food photos requires a specific approach. The goal is to enhance the natural appeal of the food, making it look fresh, vibrant, and as tasty as it is in real life. This guide will provide you with the key editing techniques to make your food photography pop off the plate.
1. Bright and Airy is Usually Right: Adjust Exposure
Dark and moody can work for some foods (like a rich chocolate cake), but generally, food looks most appetizing when it’s bright and well-lit. It conveys a sense of freshness and cleanliness.
- Increase Exposure/Brightness: Don't be afraid to make your photo bright. Use the exposure slider to lift the overall brightness of the image. Be careful not to "blow out" the highlights, which are the brightest parts of the image (like the shine on a sauce or a white plate).
- Lift the Shadows: Food often has a lot of small, complex shadows. Use the shadows slider to gently lift these dark areas, revealing more of the food's texture and detail. This is especially important for deep bowls or layered dishes.
2. Make it Pop: The Importance of Contrast and Clarity
A flat image looks like flat-tasting food. Contrast and texture are key to making a dish look three-dimensional and appealing.
- Add Contrast: A healthy dose of contrast will make the darks darker and the lights lighter, adding punch and separating the food from the background.
- Boost Clarity or Texture: This is a secret weapon for food photography. A touch of clarity or texture will enhance the mid-tone contrast, which does wonders for bringing out the fine details of the food—the crumb of a pastry, the sear marks on a steak, or the texture of a sauce. Be subtle; too much can make the food look gritty and unnatural.
3. Get the Colors Right: White Balance and Vibrance
Accurate color is crucial. You want the food to look natural and fresh, not alien.
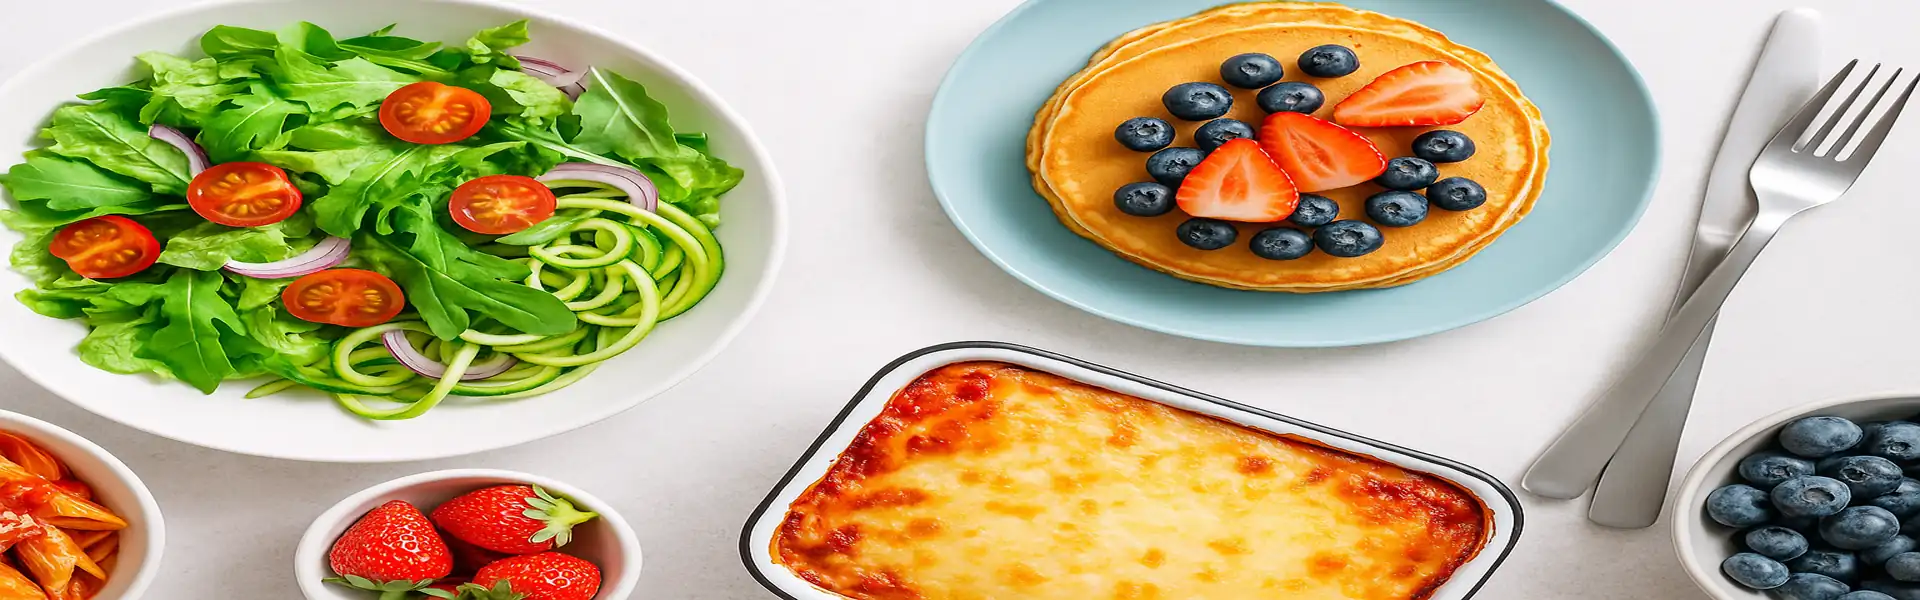
- Correct Your White Balance: This is the most important color step. Food shot under artificial indoor lighting often has a yellow or orange cast. Use the white balance tools to neutralize this. Find something in the shot that should be white (the plate, a napkin) and use it as a reference point. Correcting the white balance will make the greens in your salad look fresh and the reds in your strawberries look juicy.
- Boost Vibrance, Not Saturation: To make the colors pop, use the vibrance slider. Vibrance is smarter than saturation and does a great job of boosting the less-saturated colors without making everything look radioactive. It will enhance the natural colors of the ingredients in a much more appetizing way than the blunt saturation tool.
4. Sharpen the Details
A sharp photo looks crisp and fresh. After you’ve done your other edits, apply a final sharpening pass to the image. Zoom in and make sure the details are well-defined. This helps the textures you enhanced earlier to really stand out. Be careful not to over-sharpen, which can create ugly halos.
5. Crop for Focus and Composition
Don't just accept the framing from your camera. Crop your photo to create a more compelling composition.
- Get Closer: Crop in to fill the frame with the dish. Let the food be the hero.
- Use the Rule of Thirds: Place the main dish or the most interesting part of the dish off-center along the grid lines of the rule of thirds for a more dynamic composition.
- Consider the Angle: A top-down, flat-lay shot is very popular and works well for dishes on a plate. A 45-degree angle shot can be better for showing the height and layers of a dish, like a burger or a stack of pancakes. Crop to emphasize the best angle.
6. Clean Up Distractions
Use the healing or clone tool to remove any distracting crumbs, spills, or smudges on the plate or table. A clean presentation makes the dish look more professional and appetizing. The goal is to make it look perfect, but not sterile.
A Food Photography Editing Workflow
- Crop and Straighten: Get your composition right first.
- Correct White Balance: Ensure your colors are natural.
- Adjust Exposure and Contrast: Make it bright and punchy. Use Highlights and Shadows to balance the light.
- Enhance with Vibrance and Clarity/Texture: Make the colors and textures pop.
- Sharpen: Apply the final crispness.
- Clean Up: Remove any distracting blemishes.
Conclusion
Editing food photography is about enhancing reality, not faking it. It’s about taking what is already a delicious meal and using digital tools to translate that deliciousness into a two-dimensional image. By focusing on bright exposures, sharp textures, and natural, vibrant colors, you can create mouth-watering photos that will have your audience eager to take a bite.
Ready to make your food photos look delicious? Try our free photo editing tools today!