How to Easily Fix Underexposed or Overexposed Photos
July 26, 2025
Every photographer, from a beginner with a smartphone to a seasoned professional with a high-end camera, has experienced the frustration of a poorly exposed photo. You capture a once-in-a-lifetime moment, but when you view it later, it’s either a dark, muddy mess (underexposed) or a bright, washed-out scene with no detail (overexposed). Tricky lighting situations, like a strong backlight or a dark indoor setting, can easily fool a camera’s automatic light meter.
Fortunately, if you shoot in a format that captures enough data (like RAW, or even a high-quality JPG), you have a remarkable ability to correct these exposure problems after the fact. Rescuing a poorly exposed photo is one of the most common and satisfying tasks in photo editing. This guide will show you the simple, essential tools you need to bring your photos back from the brink.
Understanding the Problem: What is Exposure?
Exposure is simply the total amount of light allowed to reach the camera sensor when you take a photo.
- Underexposure: Not enough light reached the sensor. The result is a dark image with a loss of detail in the shadows. The histogram for an underexposed photo will be bunched up on the left side.
- Overexposure: Too much light reached the sensor. The result is an overly bright image with a loss of detail in the highlights (the brightest parts of the image). The histogram for an overexposed photo will be bunched up on the right side.
Our goal is to use editing tools to redistribute this light information, creating a balanced image that looks natural and full of detail.
The Essential Toolkit for Fixing Exposure
You don’t need dozens of complex tools. A few key sliders, found in nearly every photo editor, will do 99% of the work.
1. For Underexposed Photos (Too Dark)
When your photo is too dark, your primary goal is to introduce more light without making the image look flat or noisy.
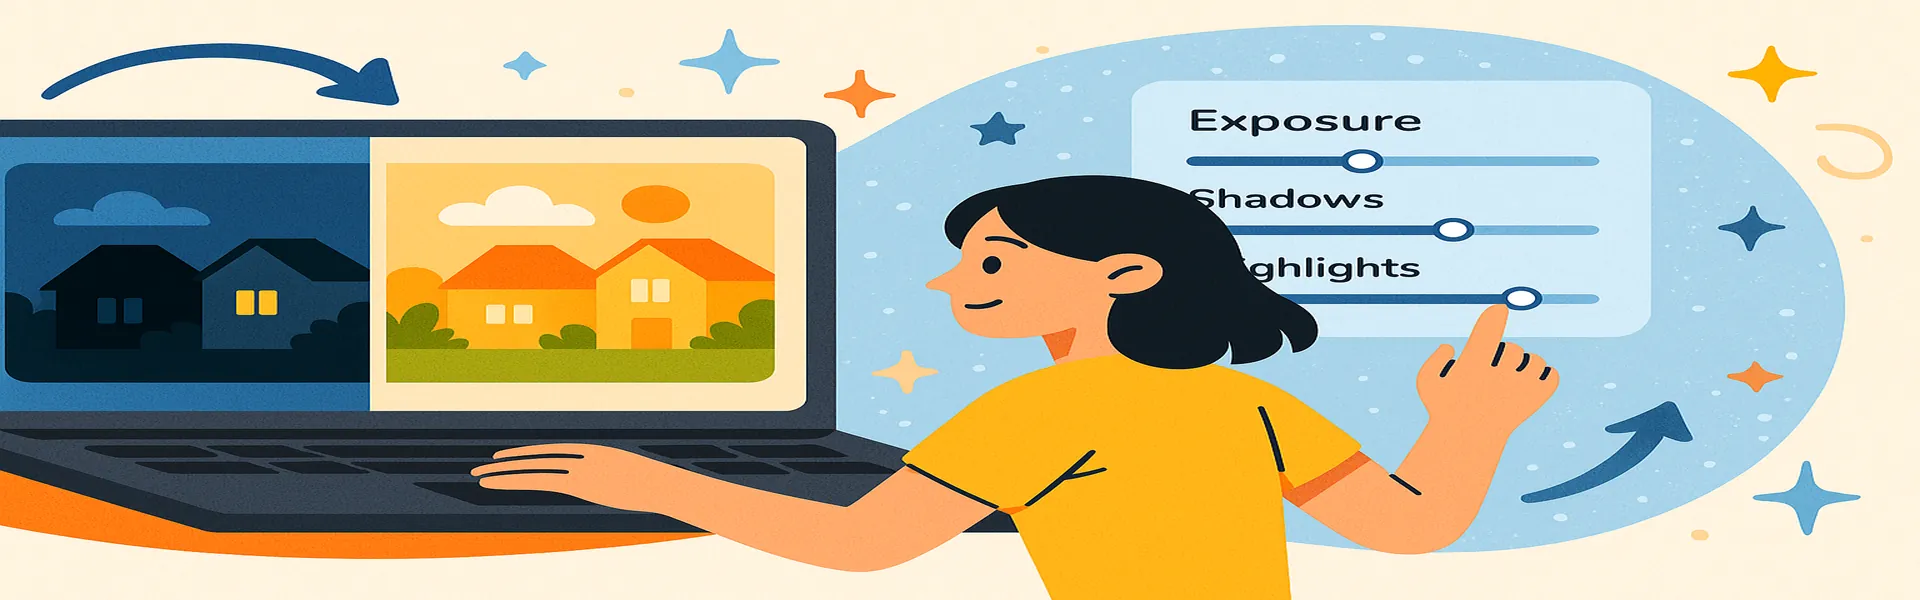
- Start with the Exposure Slider: This is your master control. Gently increase the Exposure to raise the overall brightness of the image until the main subject is well-lit.
- Lift the Shadows: After you raise the exposure, the darkest parts of the image might still look muddy. Use the **Shadows** slider to specifically target and brighten these dark areas. This is a fantastic tool for revealing details hidden in the shadows without affecting the parts of the image that are already bright enough.
- Adjust the Blacks: Lifting the shadows can sometimes make the darkest point in your image look like a milky grey. To restore a deep, rich black point, slightly decrease the **Blacks** slider. This adds contrast and prevents the image from looking washed out.
- Be Mindful of Noise: Drastically brightening a very dark photo can introduce digital "noise" or grain, which looks like fine speckles. If this happens, use a Noise Reduction tool to smooth it out, but apply it sparingly to avoid a plastic look.
2. For Overexposed Photos (Too Bright)
When your photo is too bright, your goal is to recover the lost detail in the highlights without making the image look dull or grey.
- Start with the Exposure Slider: Gently decrease the Exposure to lower the overall brightness and bring the image back into a normal range.
- Rescue the Highlights: This is the most critical step. An overexposed photo often has "blown-out" highlights, where bright areas like the sky or a white shirt are pure white with no texture. Use the **Highlights** slider to specifically target and darken these bright areas. You will often be amazed at how much detail (like the blue color of the sky or the texture of a wedding dress) you can recover.
- Adjust the Whites: Similar to the Blacks slider, the **Whites** slider sets the brightest point in your image. After you’ve recovered your highlight detail, you may need to slightly increase the Whites slider to ensure that the parts of the image that *should* be bright still have a clean, bright feel.
- Add Back a Touch of Contrast: Lowering the exposure and highlights can sometimes make an image look a bit flat. A small boost to the **Contrast** slider at the end of the process can restore a nice sense of depth.
The Power of RAW Files
While you can certainly rescue a JPG, a RAW file gives you far more latitude for these kinds of corrections. A RAW file is an uncompressed file that contains all of the data captured by the camera's sensor. A JPG, on the other hand, is a compressed file where the camera has already made decisions and thrown away some of that data. This means a RAW file holds much more hidden detail in the extreme shadows and highlights, giving you a much better chance of a successful recovery.
A Quick Workflow Summary
- Too Dark? Increase Exposure -> Increase Shadows -> Decrease Blacks.
- Too Bright? Decrease Exposure -> Decrease Highlights -> Increase Whites.
Conclusion
A bad exposure in-camera doesn’t have to mean a deleted photo. With a few simple and powerful tools, you have the power to reclaim your images. By understanding how to use the Exposure, Shadows, Highlights, Whites, and Blacks sliders as a cohesive toolkit, you can effectively balance the light in your photos, recover lost detail, and save shots that you might have once considered unusable. It’s a fundamental skill that will give you confidence both behind the camera and at the editing desk.
Have a photo that's too dark or too bright? Try our free photo editor and bring it back to life!