How to Add a Vignette to Your Photos for a Classic, Dramatic Effect
July 24, 2025
A vignette is a darkening or lightening of the edges of a photograph, with the effect gradually fading towards the center. It’s one of the oldest and most enduring techniques in photography and art. Originally, vignetting was often an unintentional optical flaw caused by camera lenses that couldn't evenly illuminate the entire image frame. Photographers, however, quickly realized that this effect could be used deliberately for powerful artistic purposes.
Today, a post-production vignette is a tool used by photographers of all levels to subtly guide the viewer's eye, enhance the mood of a photo, and add a sense of depth and focus. When done well, a vignette is an invisible hand that directs attention. When done poorly, it can be a distracting and obvious filter. This guide will teach you how to apply a vignette with skill and subtlety.
Why Add a Vignette? The Artistic Benefits
A well-executed vignette can significantly improve a photo in several ways:
- It Draws the Eye to the Subject: This is the primary reason to use a vignette. Our eyes are naturally drawn to the brightest part of an image. By subtly darkening the corners and edges of the frame, you create a natural spotlight effect that funnels the viewer's attention towards the center, right where your subject is likely to be.
- It Creates a Sense of Depth: The darkening of the periphery can make the central part of the image feel closer to the viewer, enhancing the three-dimensional feel of a two-dimensional photo.
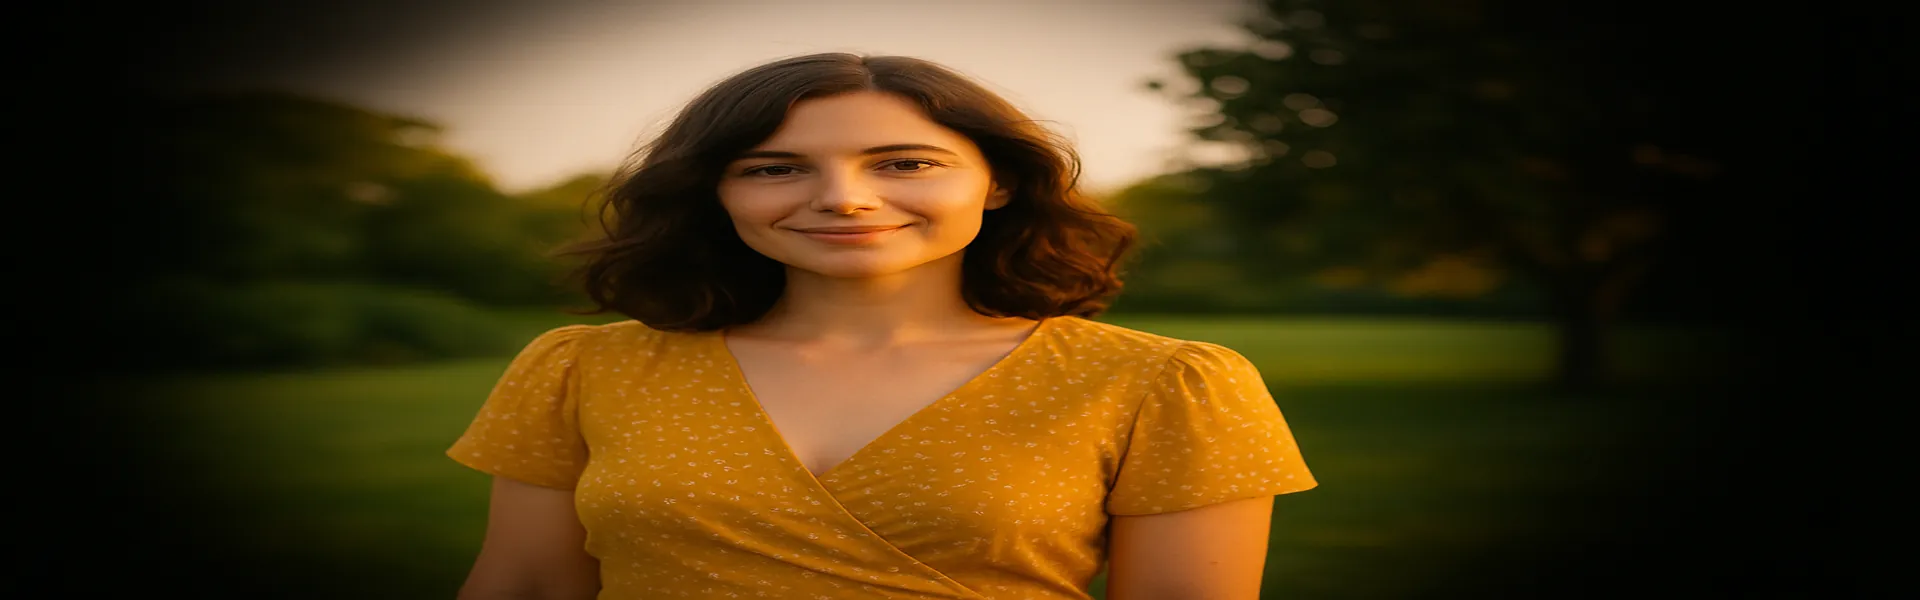
- It Enhances the Mood: A dark vignette can add a sense of drama, intimacy, or melancholy to an image. It’s particularly effective in portraits and moody landscapes. A light or white vignette, while used less often, can create a dreamy, airy, or nostalgic feel.
- It Frames the Image: A vignette acts as a soft, natural frame for your photograph, containing the viewer's gaze and giving the image a more finished, polished look.
The Controls of a Vignette Tool
Most modern photo editors give you a dedicated vignette tool with several sliders for precise control. Understanding these will help you move beyond a simple on/off effect.
- Amount (or Strength): This is the main slider. Moving it to the left makes the corners darker (a black vignette), while moving it to the right makes them lighter (a white vignette). The key to a good vignette is subtlety. Start with a small amount.
- Midpoint (or Size): This slider controls how far the vignette reaches into the image. A low midpoint means the vignette will be a tight circle in the very center. A high midpoint means the vignette will be pushed far out to the edges, affecting only the extreme corners.
- Roundness: This slider controls the shape of the vignette, from a perfect circle to a more rectangular shape that matches the frame of the photo. For most photos, a shape that echoes the aspect ratio of the image is most natural.
- Feather (or Falloff): This is perhaps the most important slider for a natural look. It controls the softness of the transition between the vignetted edges and the unaffected center. A low feather will create a hard, obvious edge (like looking through a keyhole), which usually looks amateurish. A high feather creates a very soft, gradual fade that is much more subtle and pleasing to the eye. **Always use a high feather value.**
A Workflow for a Subtle, Professional Vignette
- Do it Last: A vignette should be one of the very last edits you apply to a photo, after you have finished all your color, exposure, and sharpening adjustments.
- Start with the Amount: Move the Amount slider to a moderately dark setting. Don't worry about making it perfect yet; the goal is to clearly see the effect as you adjust the other sliders.
- Set the Feather to Maximum: Immediately push the Feather slider to its highest value. This ensures a soft, gradual transition from the start.
- Adjust the Midpoint and Roundness: Now, adjust the Midpoint to control how far the effect reaches. For a portrait, you might want a tighter vignette that just covers the background, leaving the subject fully illuminated. For a landscape, you might want a wider vignette that only darkens the very corners. Adjust the Roundness to match your image shape.
- Dial Back the Amount: Now that the shape and softness are perfect, go back to the Amount slider. Dial it back until the effect is barely noticeable. The goal is for the viewer to *feel* the effect, not to *see* it. A good test is to toggle the vignette on and off. If the change is jarring and obvious, you’ve gone too far. It should be a subtle nudge, not a shove.
When to Avoid a Vignette
A vignette isn't right for every photo. On a bright, airy, high-key image (like a beach scene with lots of white sand and sky), a dark vignette can feel out of place and heavy-handed. In some compositions, the details in the corners are important to the scene and shouldn't be obscured. Like any effect, it should be used with intention, not as a default filter applied to every photo.
Conclusion
The vignette is a timeless, powerful tool for artistic expression. It’s a simple way to add a professional touch to your photos by subtly manipulating the viewer’s focus and enhancing the overall mood. The key to mastering the vignette is restraint. By using the advanced controls to create a soft, gradual effect and by dialing back the intensity until it’s almost subliminal, you can add a layer of sophistication to your images that elevates them from simple snapshots to compelling works of art.
Ready to add a touch of drama? Try our free photo editing tools today!