Compressing Images for the Web: A Step-by-Step Guide for Faster Websites
July 18, 2025
In the digital age, speed is everything. Website visitors are notoriously impatient. Studies have shown that even a one-second delay in page load time can lead to a significant drop in conversions and user engagement. One of the biggest culprits behind slow websites? Large, unoptimized images. Every beautiful, high-resolution photo you upload comes with a cost: file size. The larger the file, the longer it takes for a user to download, and the slower your site becomes.
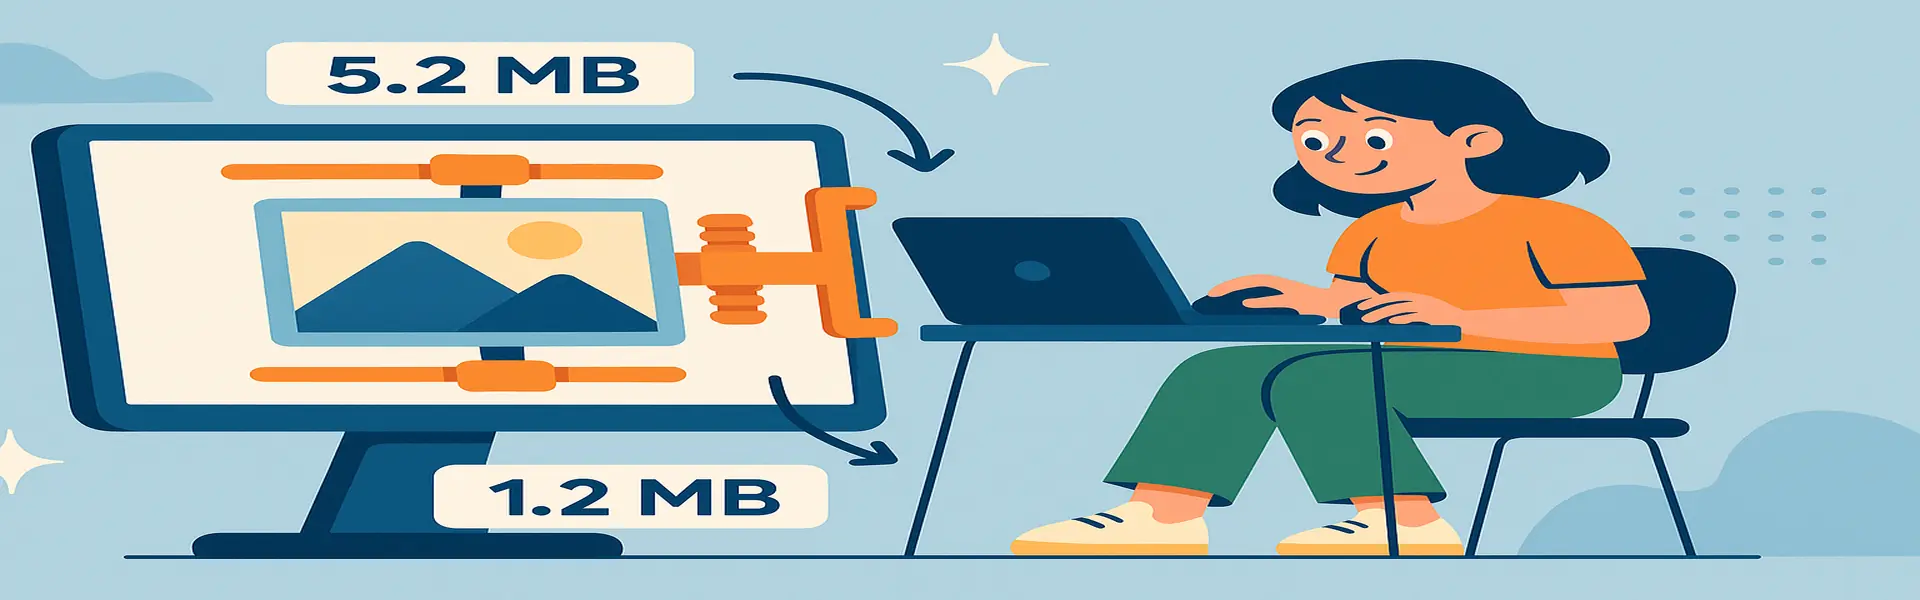
This is where image compression comes in. Image compression is the art and science of reducing the file size of an image without a significant, noticeable loss in quality. Mastering this process is one of the most impactful things you can do to improve your website’s performance, boost your SEO rankings, and provide a better user experience.
The Two Types of Compression: Lossy vs. Lossless
To understand compression, you first need to know the two fundamental approaches:
Lossless Compression:
- What it is: Lossless compression reduces file size by identifying and eliminating redundant data in the file, without throwing away any of the original information. It’s like taking a text document and creating a ZIP file; when you unzip it, the text is 100% identical to the original.
- How it works: It looks for patterns. For example, if it finds a block of 100 solid blue pixels, instead of storing "blue, blue, blue..." 100 times, it just stores "100 blue pixels."
- Pros: No quality is lost. The decompressed image is a perfect pixel-for-pixel replica of the original.
- Cons: The file size reduction is often modest. It’s not as effective at making photo files significantly smaller.
- Used by: PNG, GIF, and the lossless mode of WEBP.
Lossy Compression:
- What it is: Lossy compression achieves much smaller file sizes by permanently and selectively discarding some of the image data. It’s designed to throw away information that the human eye is least likely to notice.
- How it works: It uses complex algorithms to analyze the image and remove subtle color variations, high-frequency details, and other data that is considered less important.
- Pros: Can dramatically reduce file size, often by 70-90%, which is fantastic for web performance.
- Cons: Quality is permanently lost. If you apply too much compression, you will start to see visible artifacts, such as blockiness (pixelation), color banding, and a general lack of sharpness.
- Used by: JPG and the lossy mode of WEBP.
The Compression Workflow: A Practical Guide
For optimal results, compression should be the final step in your image editing process, after resizing and color correction.
- Step 1: Resize Your Image First. This is the most important step. There is no point uploading a massive 5000x4000 pixel image if it will only be displayed at 800px wide. Resizing the image to its final display dimensions will provide the biggest initial drop in file size.
- Step 2: Choose the Right File Format. As discussed in our format guide, WEBP is the best choice for web use. If you can't use WEBP, use JPG for photos and PNG for graphics with transparency.
- Step 3: Upload to a Compression Tool. Use a dedicated tool like Picu's online image compressor. These tools are specifically designed to provide the best balance between file size and quality.
- Step 4: Adjust the Compression Level. Many tools allow you to choose a compression level (e.g., a quality setting from 1 to 100 for JPGs). Don't just crank it down to the lowest setting. Use a previewer to find the "sweet spot"—the point where the file size is significantly smaller, but you can't yet see any ugly artifacts with your own eyes. For JPGs, a quality setting of 70-85 is often a great starting point.
- Step 5: Compare and Download. A good tool will show you the original file size and the new, compressed file size, along with the percentage of data you've saved. Download the optimized version and upload it to your website.
What’s a Good Target File Size?
This is a common question, and the answer is "it depends." However, here are some excellent general targets for web images:
- Full-screen hero images: Try to keep them under 500 KB.
- Blog post and content images: Aim for 100-300 KB.
- Thumbnails and smaller graphics: Should be well under 100 KB.
The goal is not to hit an exact number, but to make your images as small as possible without a perceptible drop in visual quality.
Conclusion
Image compression is not an optional step for web creators; it is a necessity. It’s a simple, free action that has a direct and positive impact on your website's speed, user experience, and search engine ranking. By understanding the difference between lossy and lossless compression and by integrating a compression tool into your workflow, you can ensure your website is both beautiful and blazingly fast. Your visitors (and Google) will thank you for it.
Ready to speed up your website? Try our powerful image compressor today!