A Simple Guide to White Balance Correction for True-to-Life Colors
July 25, 2025
Have you ever taken a photo indoors that came out looking strangely orange? Or a photo in the shade that looked unnaturally blue? This common problem is a result of incorrect white balance. Our brains are amazing at automatically adjusting to different types of light, so we perceive a white piece of paper as white whether we're under the warm light of a lamp or the cool light of a cloudy day. Digital cameras, however, are not so smart. They simply record the light as it is, which often results in an unwanted color cast.
White balance correction is the process of removing these unrealistic color casts so that objects that appear white in person are rendered as white in your photo. It is the absolute foundation of color correction. If your white balance is wrong, all the other colors in your photo will be wrong too. Mastering this simple adjustment is the first and most important step to achieving natural, accurate, and beautiful colors in your images.
Understanding Color Temperature
The core concept behind white balance is **color temperature**. Different light sources produce different colors of light. This color is measured on a scale called the Kelvin (K) scale.
- Warm Light (Lower Kelvin): A candle flame or a traditional tungsten light bulb produces very warm, orange-yellow light. This is at the low end of the scale (around 1000-3000K).
- Neutral Light (Mid-day Sun): Direct sunlight during the middle of the day is considered relatively neutral or "white" light (around 5500K).
- Cool Light (Higher Kelvin): Light on a heavily overcast day or in the shade is actually blue-toned, or cool. This is at the high end of the scale (around 6500-10,000K).
The job of the white balance setting is to compensate for the color temperature of the light source to produce a neutral image. If you are shooting in warm light, the camera needs to add blue to neutralize the orange. If you are shooting in cool light, the camera needs to add yellow/orange to neutralize the blue.
The Tools for White Balance Correction
In your photo editor, you will typically find three main tools for adjusting white balance.
1. The White Balance Presets
Most editors offer a dropdown menu of presets that match the settings you might find in your camera. These include options like "Daylight," "Cloudy," "Shade," "Tungsten," and "Fluorescent." If you know the lighting condition your photo was taken in, selecting the corresponding preset can often get you very close to a correct result instantly. For example, if your indoor photo looks orange, choosing the "Tungsten" preset will automatically add blue to counteract it.
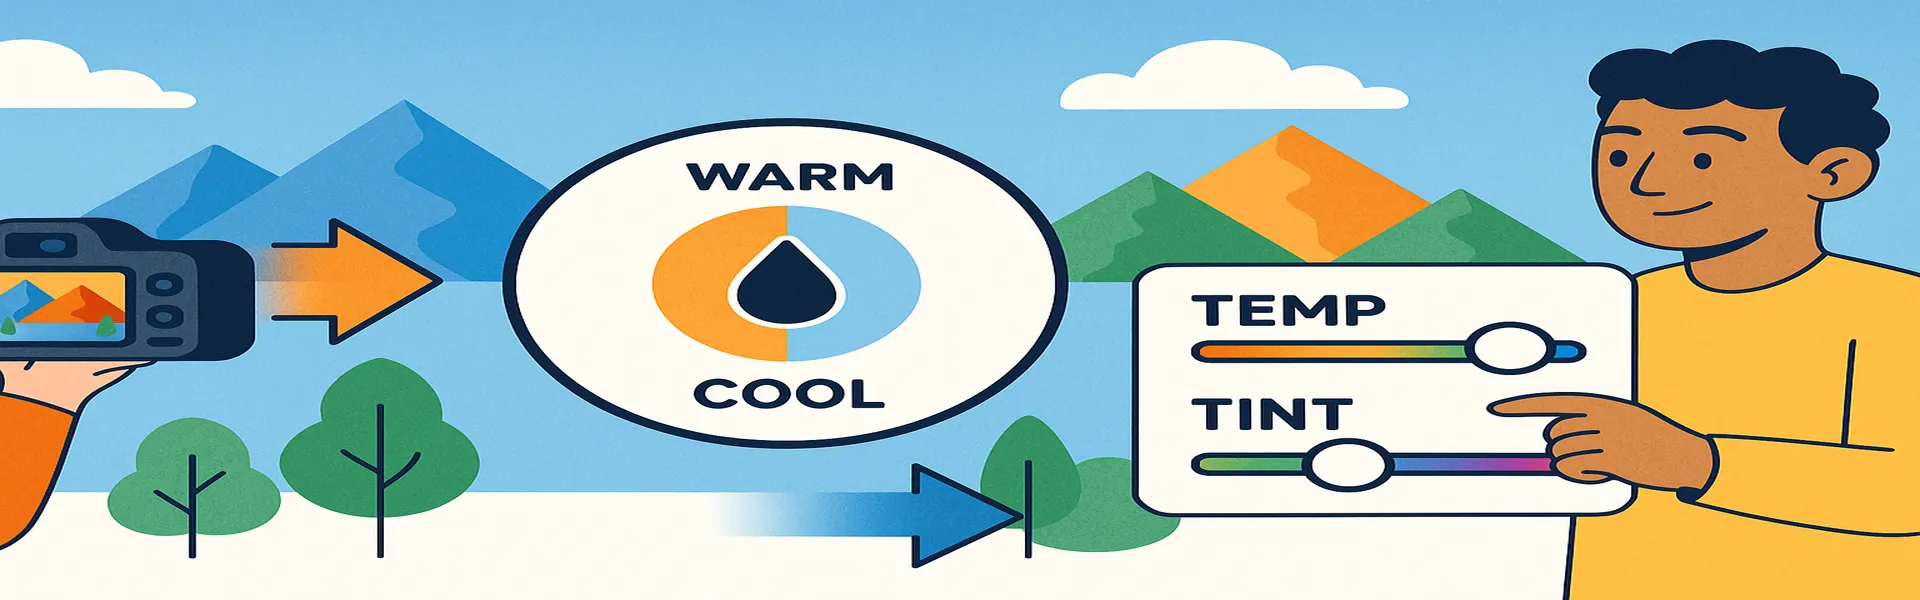
2. The Temperature and Tint Sliders
These sliders give you manual control for fine-tuning the color.
- Temperature: This is the primary slider. It adjusts the color along a blue-to-yellow axis. If your image is too blue, you move the slider towards the yellow side to warm it up. If your image is too orange, you move the slider towards the blue side to cool it down.
- Tint: This slider adjusts the color along a green-to-magenta axis. This is used to correct for more unusual light sources, most notably fluorescent lights, which can often produce a greenish cast. If you correct the temperature but the photo still looks a bit "off," a small adjustment to the tint slider is often the solution.
3. The White Balance Selector (The Eyedropper Tool)
This is the fastest and often most accurate way to set your white balance. The eyedropper tool lets you tell the software what is supposed to be a neutral color.
- Select the Tool: Find and select the eyedropper icon in your white balance panel.
- Find a Neutral Point: Look for an object in your photo that you know for a fact should be a neutral color—either white, middle grey, or black. Good candidates include a white shirt, a grey sidewalk, the white of someone's eye, or a price tag.
- Click on the Neutral Point: Click on that neutral spot with the eyedropper. The software will automatically analyze the color of the pixels you clicked on and instantly adjust the Temperature and Tint sliders so that those pixels become perfectly neutral.
Because the software now knows what "true neutral" is, it can accurately remap all the other colors in the image, removing the color cast from the entire photo in a single click. It’s a powerful and incredibly efficient tool.
A Simple White Balance Workflow
- Try the Eyedropper First: Scan your image for a neutral point. If you can find one, the eyedropper tool is your fastest path to an accurate result.
- Use Presets if No Neutral Point Exists: If your photo has no obvious neutral colors (e.g., a sunset or a forest scene), try applying a preset based on the lighting conditions you remember.
- Fine-Tune with Sliders: After using the eyedropper or a preset, use the Temperature and Tint sliders to make small, final adjustments based on your own creative judgment. You might want to make a scene feel slightly warmer or cooler for creative effect.
Conclusion
Correcting the white balance is the bedrock of a good color edit. It’s a simple process, but it has a profound impact on the final quality of your image. By ensuring that the colors in your photo are accurate and free from unnatural casts, you create a clean, professional canvas upon which all your other creative edits can be built. Take the few seconds to get your white balance right, and you’ll be rewarded with images that are vibrant, natural, and true to life.
Ready to fix your colors? Try our free photo editing tools today!